Connect to a Research Drive on a Windows computer
-
If you are off-campus connect via the University Virtual Private Network (VPN).
-
Open File Explorer from the taskbar or the Start menu.
-
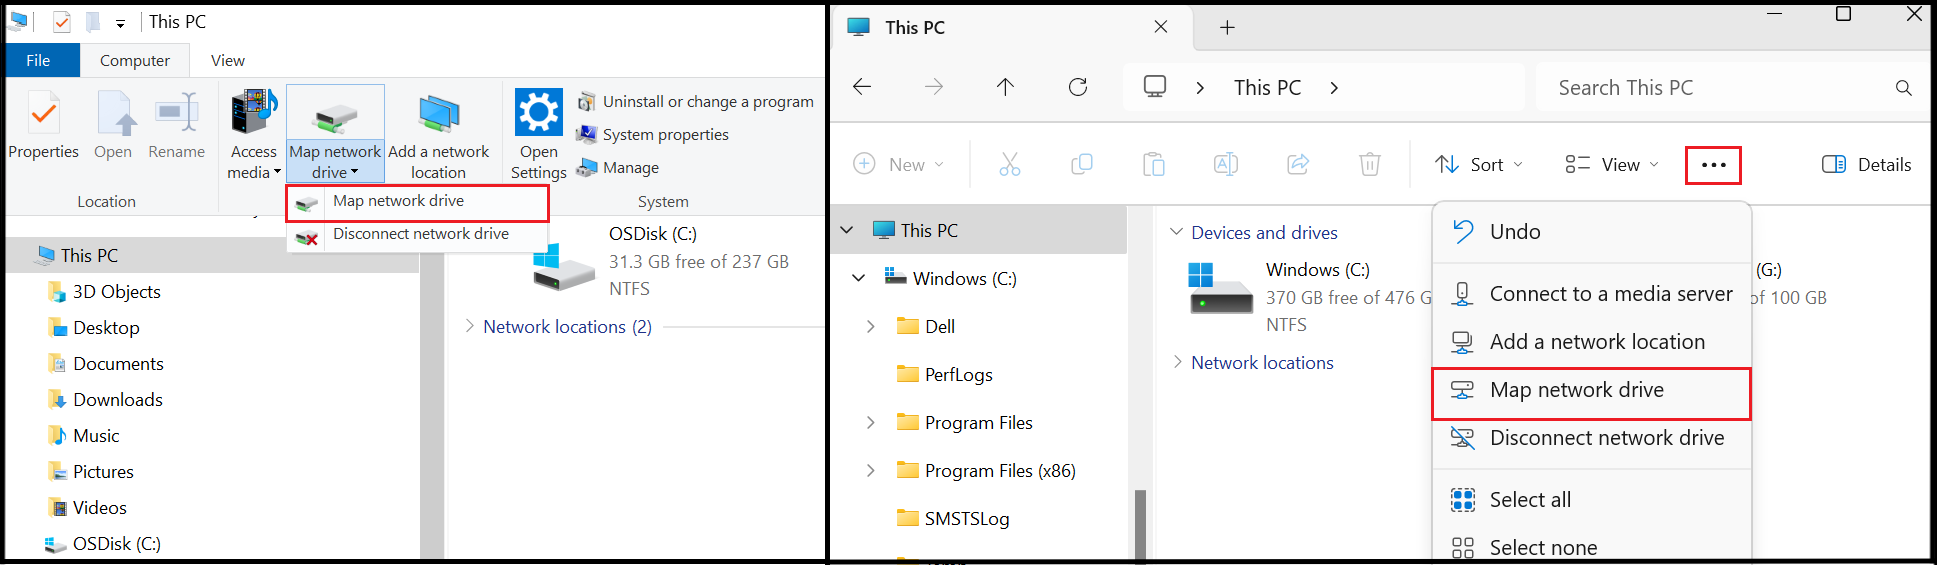
Select This PC, then:
a. Windows 10: Select Map Network Drive from the Computer tab
OR
b. Windows 11: Select ••• on the File Explorer ribbon, then Map Network Drive.
-
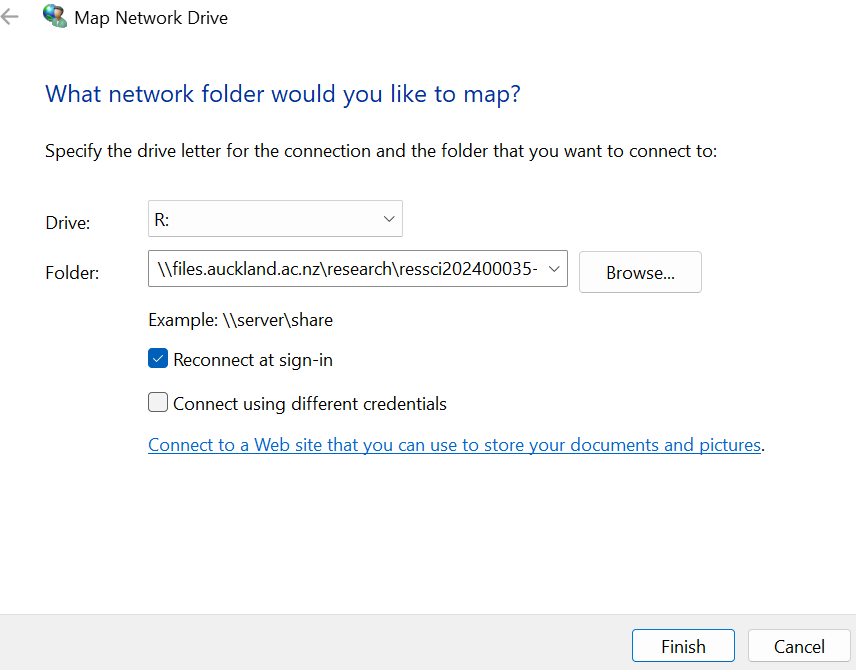
In the Drive list, select a free drive letter.
-
In the Folder box, enter the drive location you were sent when the drive was created:
a. For drives created after mid-September 2026, enter
\\research.drive.auckland.ac.nz\followed by the name of the Research Drive. It will look similar to this:\\research.drive.auckland.ac.nz\ressci202400035-drive-nameOR
b. For drives created before mid-September 2026, enter
\\files.auckland.ac.nz\research\followed by the name of the Research Drive. It will look similar to this:\\files.auckland.ac.nz\research\ressci202400035-drive-name -
Make sure that Reconnect at login remains ticked.
-
Click Finish. Note: If you receive an error message when attempting to map the drive, please sign out or restart your machine and try again.
-
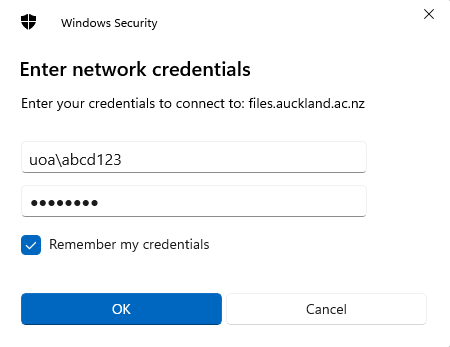
If prompted, enter your University username and password ensuring the Domain is UOA.