Research Drive Data Transfers
Contents
Nectar virtual machines (VMs) are located, by default, outside the University of Auckland firewall,
and your research drive is inside that firewall.
For that reason, you cannot currently, generally, mount your research drive on a nectar vm.
But the University operates a globus data-transfer node and data collection University of Auckland Research Data Collection outside the firewall giving you access to your research-drive from there. And globus provides one of the fastest ways to transfer large amounts of data.
Transferring files between a nectar instance and your research drive using globus requires configuration on both the research-drive and your nectar instance:
Research-drive configuration
Submit a research-drive request, specifying “existing” storage, and provide
- the University of Auckland usernames (UPIs) of those on your team who need globus access to this drive
Nectar VM configuration
Install a globus personal endpoint on your nectar vm. This installation is specific to the vm’s operating system. Choose appropriately.
Globus Data Transfers
With both your research-drive and nectar vm now configured to be accessible through globus,
- start the globus personal connect application on your nectar vm (see the download page for your operating system (Windows/MacOS/Linux) for a fully-worked example).
- in your browser, sign in to globus selecting the “existing organizational login”
associated with
The University of Auckland(single-sign-on). - Proceed to globus’s FileManager page, and select
the two endpoints you want to connect:
- For your research drive: enter “University of Auckland Research Data Collection” in the Collection Search bar, and select it. Authenticate, and your research drive will be visible.
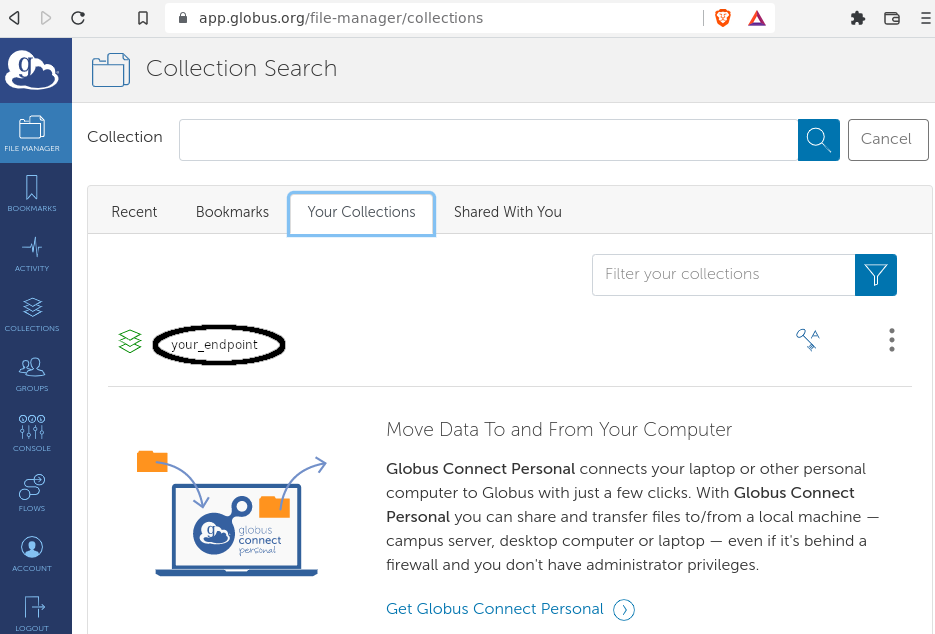
- For your nectar vm: under the “Your Collections” tab, select the personal globus endpoint on your nectar vm.
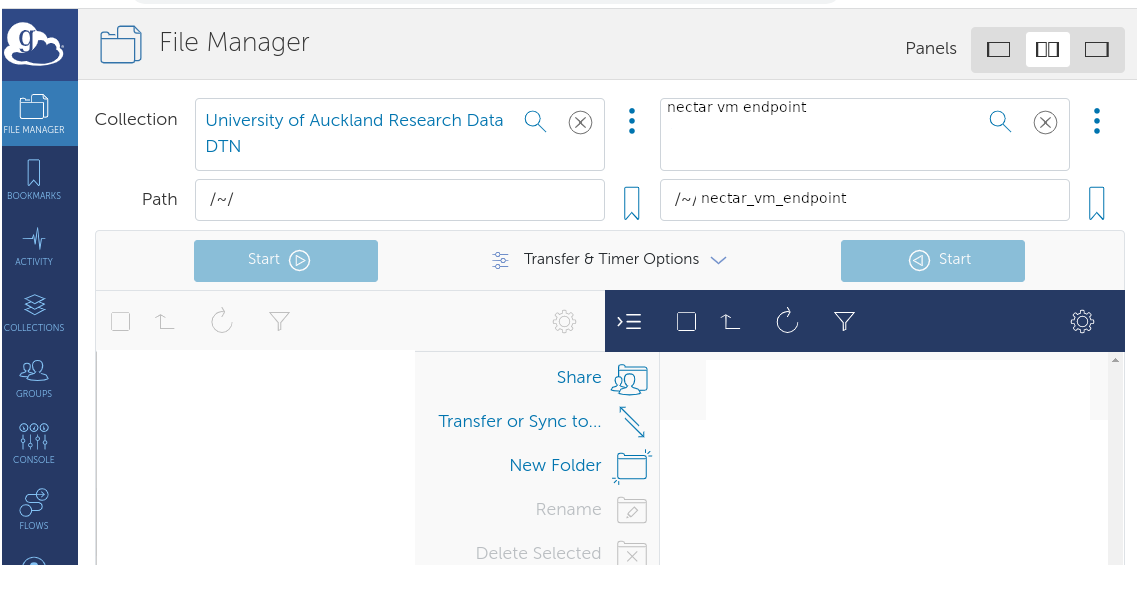
- Navigate to the location of your source and target directories, and proceed to transfer files.